Overview
There are principle stages in creating posts for the Game Archive site.
- Preparing your text and images for the post offline.
- Creating a separate “Post” in WordPress for each of your online assignments.
- Adding your text and images to each Post.
- Putting your Post in the right category so it appears in the correct part of the website.
Preparing Your Post: Text and Images
- Always write your entire post in a Word document before trying to upload anything to the WordPress site. Do not write your report or review directly into the text boxes in WordPress, as there is a real risk that you could lose your work if either your internet connection failed, or if for some reason the submission process went awry. If for any reason your work failed to upload for Professor Peterson to review, and you have not saved a copy of it offline (i.e. in Word), it would be lost irretrievably.
- Likewise, assemble your images, weblinks, and any other media components in advance so you can add them in one go rather than in incremental stages, and this minimizes the risk of work being lost due to any internet connectivity issues.
Posting Your Work in WordPress [1]
- When you visit the website http://gamearchive.as.ua.edu click on the Login button on the top menu to enter your WordPress dashboard. On the left side of the page you will see a series of menu options, the second of which is called “Posts”. Hover your mouse over this.
- You will see four options appear: (a) All Posts, (b) Add New, (c) Categories, (d) Tags.
- Click on “Add New”, and the following display will appear:
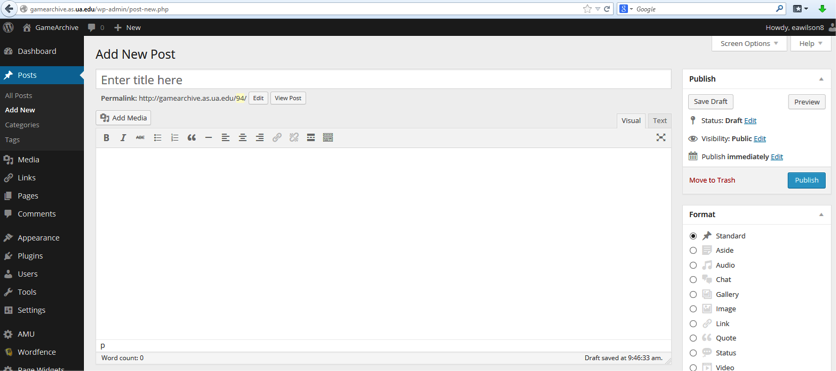
Now a new post exists in outline, and needs to be filled with the information and images you wish to display.
Adding And Formatting Text In Your WordPress Post:
- First, let’s add a name for your post: you do this by typing in the blank box beneath the phrase “Add New Post”. For this project, use the name of the building or work of art which you have researched.
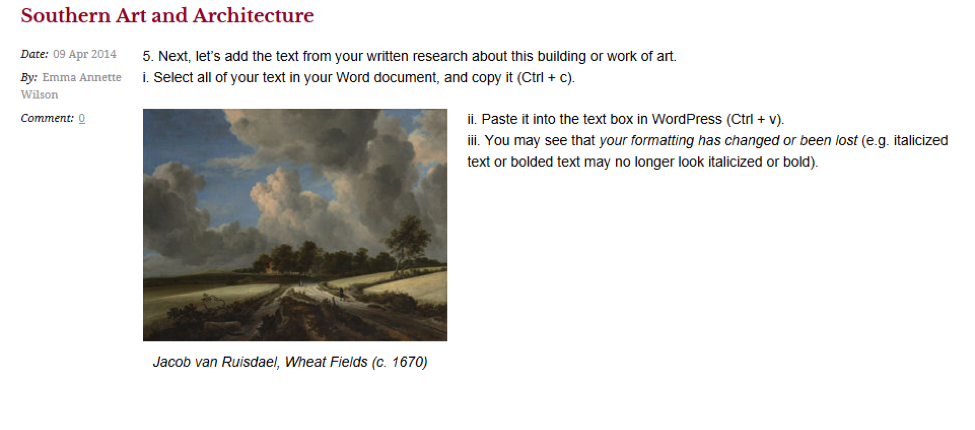
- Next, let’s add the text from your session report or bibliographic review.
- Select all of your text in your Word document, and copy it (Ctrl + c).
- Paste it into the text box in WordPress (Ctrl + v).
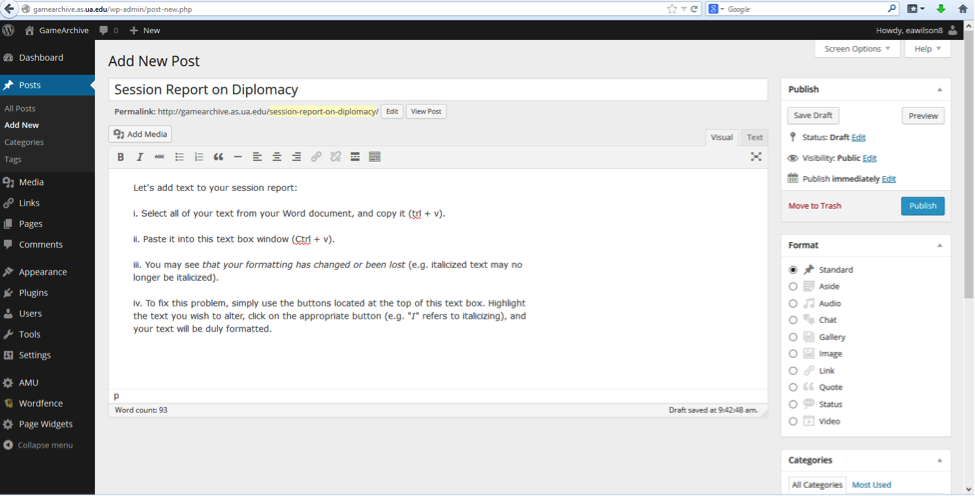
- You may see that your formatting has changed or been lost (e.g. italicized text or bolded text may no longer look italicized or bold).
- To fix this problem, you can use the small buttons located at the top of the text box. B refers to making text Bold, I refers to italicizing text.
- If you highlight text which you wish to appear in italics, and click I, you will see html formatting marks appear on either side of the highlighted text. This means it will appear italicized in the post when it is published.
Let’s add images to your post in such a way that the text which they relate to is wrapped neatly around them, rather than having the image interrupt the flow of your document.
- Save your image on your desktop.
- Decide where you would like the image to occur within your text. In our sample text, let’s have the image occur between “Ctrl + c).” and “ii. Paste it into the text box…”. Click here in your text box in WordPress.
- You can see three larger boxes above the text box and above the text formatting buttons: Add Media, Add Form, and Add Contact Form. Click “Add Media”. This will open up a new screen.
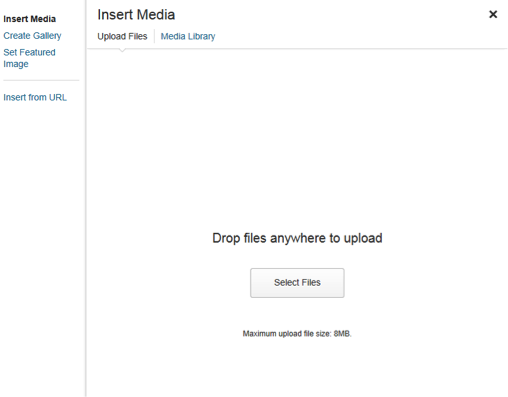
4. You can either (a) drag the saved image from your desktop and drop it here to be uploaded, or (b) click on “Select Files” and browse your own files to find the saved location of the image you want to upload. You can do this multiple times until you have created a mini library of all the images which you wish to use.
5. At the bottom right of the screen, you will see a button labelled “Insert into Post”. Select the image which you wish to insert into this particular space in your written work.
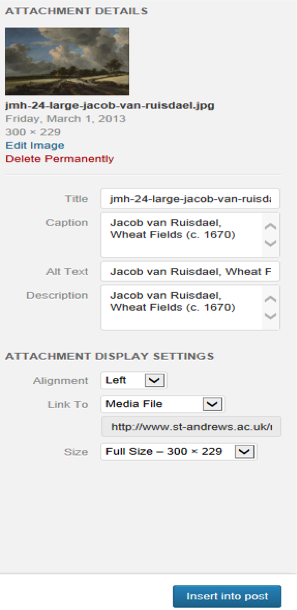
6. Click “Insert into Post”, and you will see the following display and options appear on the right hand of your screen:
7. Under “Alignment”, click either “Left” or “Right” (as you prefer). This should make the text wrap neatly around your image, as shown below:
ONLY For Session Reports: Representing Your Post in the Website [2]
For the session reports, you can select an image which will represent your post in that section of the website so that gradually a small database of these reports accumulates.
- In the “Post” section once again, you will see at the very bottom right corner a box called “Featured Image”. Click on this. Use the same steps as above to add the image which you wish to represent your work.
- Once you do this, in the online version the image will display right at the top of your post (though this will not be visible until the post is actually “live”).
Handing In Your Work
Putting Your Work In The Right Place In The Website [3]
- Under “Posts” you will see a menu named “Categories” either in the left- or right-hand sidebar. It is recommended to change your widget layout to the one below to avoid missing a step (and collapse Tags and Format widgets).
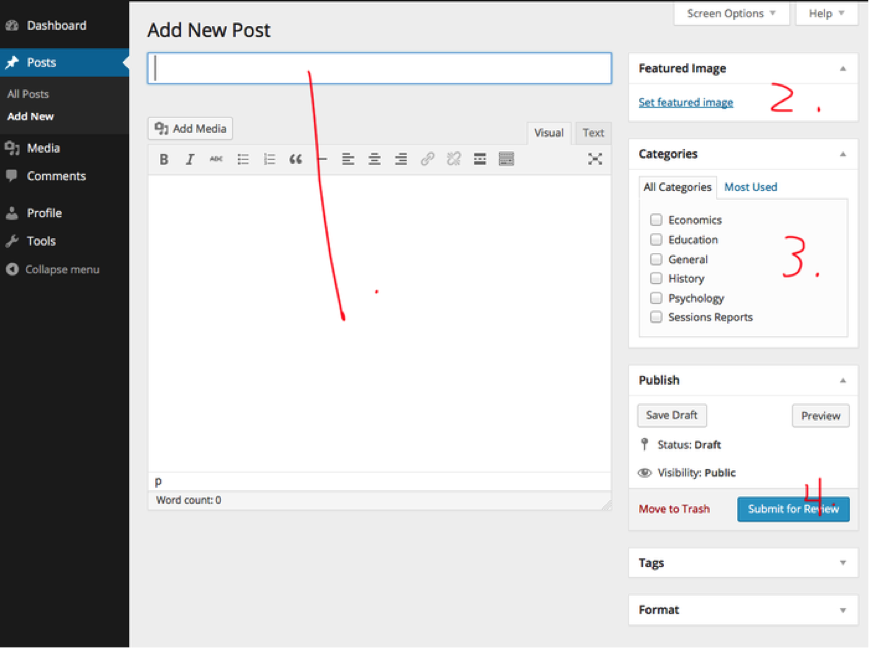
- Select the box which is appropriate for your current post. The “Session Reports” section is self-explanatory. The other sections, “Economics”, “Education”, “General”, “History”, and “Psychology” all refer to different sections of the Bibliography part of the website. When you do your bibliographic assignment, think about which of these headings best fits your review or annotated bibliographic entry, and select that box. If you are uncertain, do consult with Professor Peterson and Brett Spencer.
- Now your post should appear in the appropriate part of the website.
Submitting Your Work To Professor Peterson For Review [4]
- Once you have finished adding and editing your text and images, you will see a button on the top right side of your screen marked “Submit for Review”.
- Click this, and you have submitted your work for review.